Etching
Welcome to my online workshop!
Links
Cyphers for HRM Ginevra
- Press-N-Peel Blue
- Copper Application
- Acrylic Application
- Attaching Foam
- Etching
- Post Etch
- Cleaned
- Completed Cyphers
Stages:

Press-n-Peal blue taped to plain white paper for printing. (Print the design on the paper first to make lining it up easier.) Tape the PnP down with frosted tape. For my printer I have to tape both sides. for most you can tape just the leading edge.
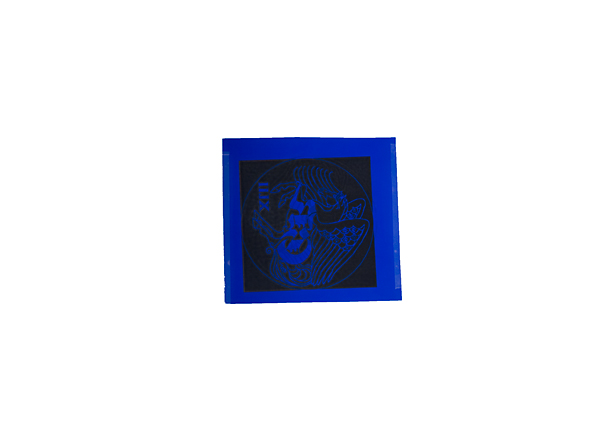
The design printed onto the PnP Blue.
*******
Attaching the 2 1/4" copper round to the PnP so I can iron the design onto the copper. Tip: Frosted tape works well for this.
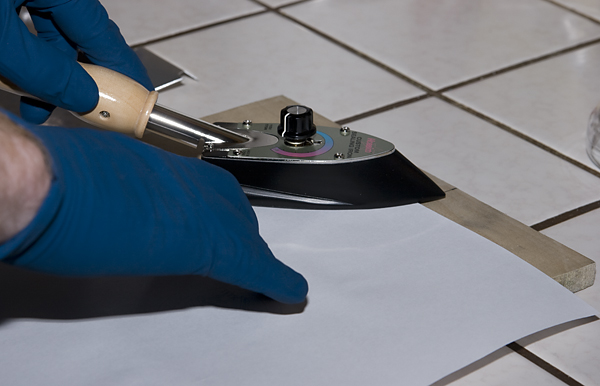
Ironing the PnP resist onto the copper. Place a piece of plain paper over the PnP so the plastic doesn't melt to your iron. Iron until you can clearly see the design through the PnP. I am using a tacking iron set on high. Once the design is ironed on, hold the hot metal under cool running water, with the water running on the back of the PnP until it cools, then carefully peal the PnP off of the metal.
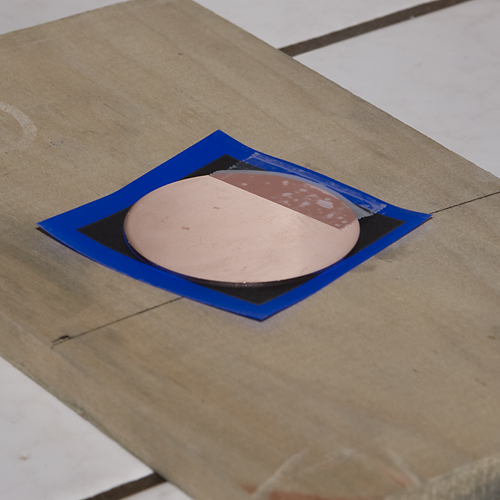
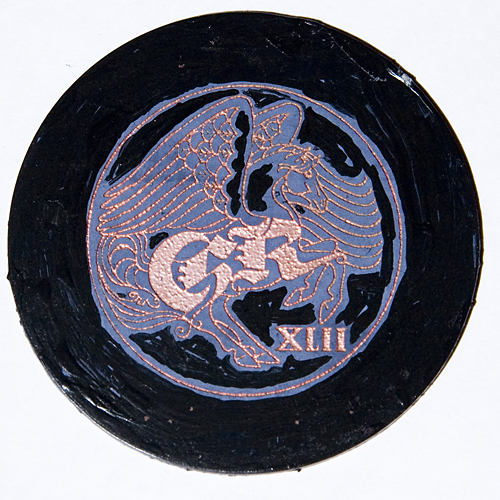
The PnP on the copper. (It is actually dark blue and uses the laser toner as adhesive.)
Another piece with the PnP in place. Note that it doesn't always stick everywhere. Oil on the metal (finger oil, etc.), low spots in the metal, etc. can all cause the PnP to not stick. I paint over the large open areas using a black acrylic paint, so this isn't a problem. I can also touch up the edges if there is a defect along the detail.
*******
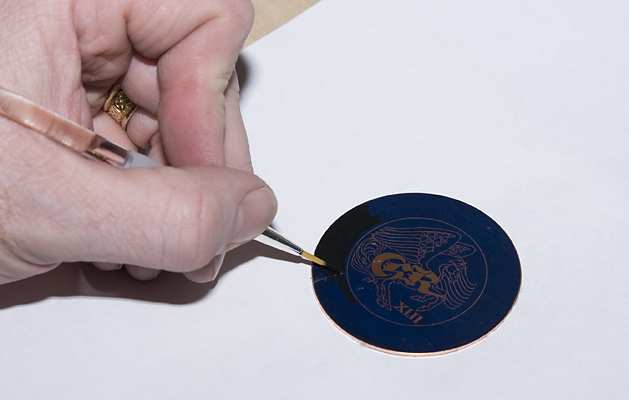
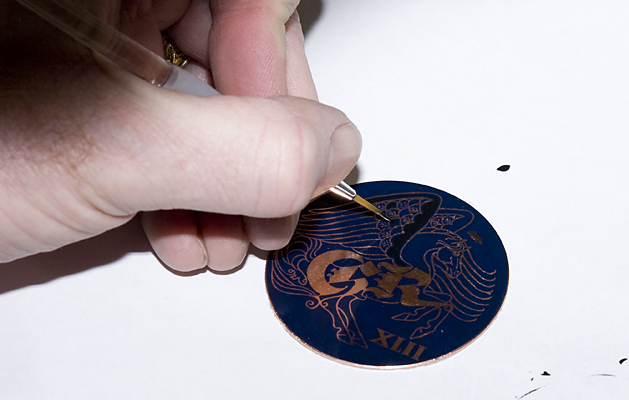
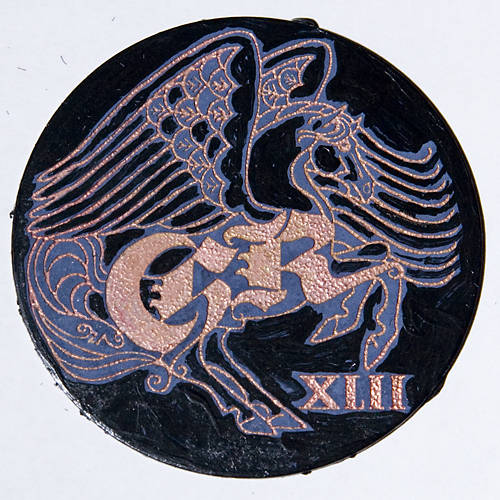
Here I'm painting the acrylic paint on over the PnP. The PnP can give really good edges, but tends to transfer a pattern on large open areas due to the way modern laser printers lay down toner.
More painting on the acrylic paint. Here's I'm also touching up the details.
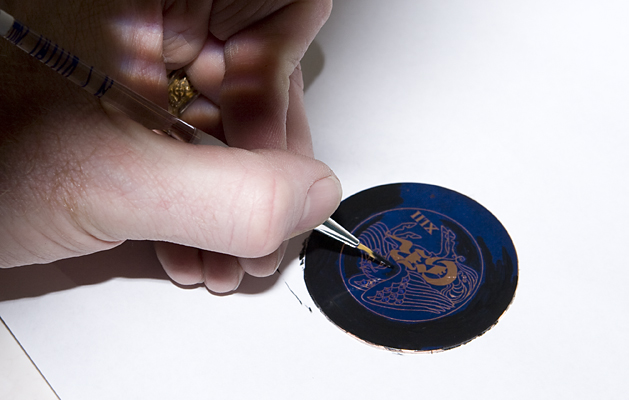
Here I am working on a larger sample.
Be sure to cover the back and edges with resist, too. You can use the acrylic paint, packing tape or clear shelf paper for the back. The acrylic works best for the edges. Don't leave any gaps between the resist on the back and the edges or the etchant will cut under the backing.
*******
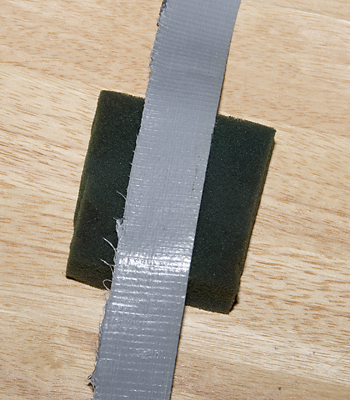
I etch by floaitng my projects face down in a mixture of Ferric Chloride and Citric Acid (Edinborough Etch.) To float it, the pieces must be affixed to pieces of foam rubber. I use duct tape. It holds up to the etchant for longer than I've needed to keep it floating.
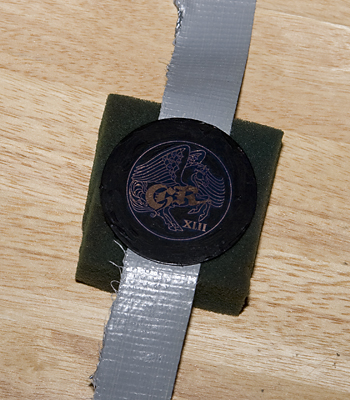
Here, I've pressed the piece down onto the sticky edge of the tape. Note, the foam doesn't need to be much larger than the piece being etched.

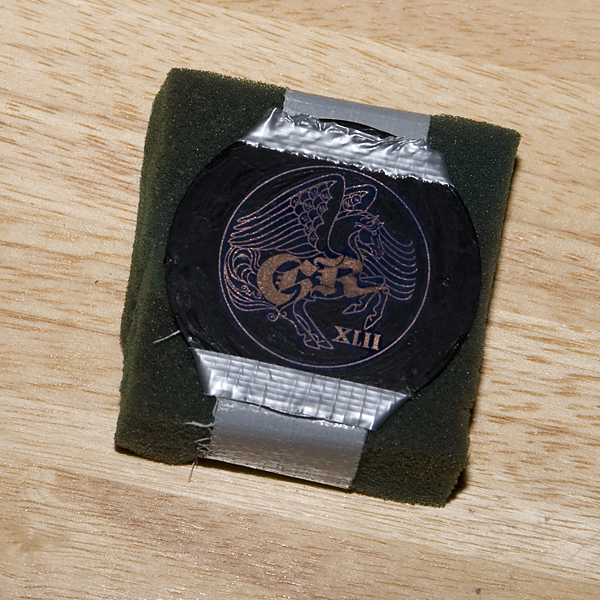
Here, I've added a couple of smaller pieces of tape to help affix the piece to the tape.
The smaller pieces of tape are wrapped around the back, over the tape strip stuck to the back. The long piece is now wrapped around the foam.
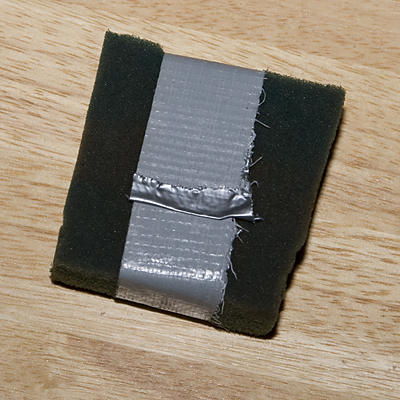
The back of the piece of foam showing the tape wrapped around and stuck to itself. Tip: Keep it snug, so it can't slip off easily.
*******
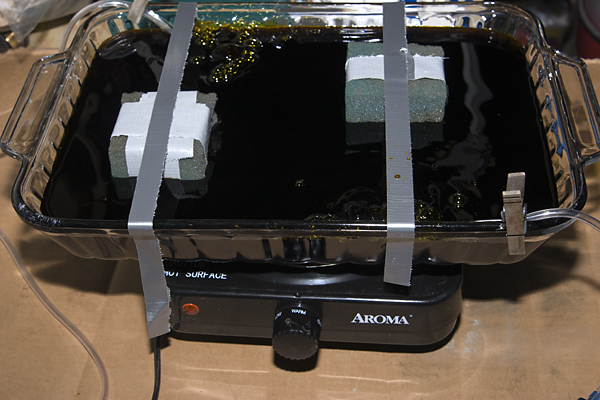
Here are the pieces floating in the etchant. I am using a 9"x13" glass baking pan as an etching tank. It is sitting on a hot plate set on its lowest setting. You want the Ferric Chloride at about 100 degrees F. I use a fish tank air pump to provide air to help circulate the etchant and hold the pieces being etched in place with a little more duct tape. Tip: You want the etchant to curculate around the etchings, you don't want the etchings floating in circles.
*******
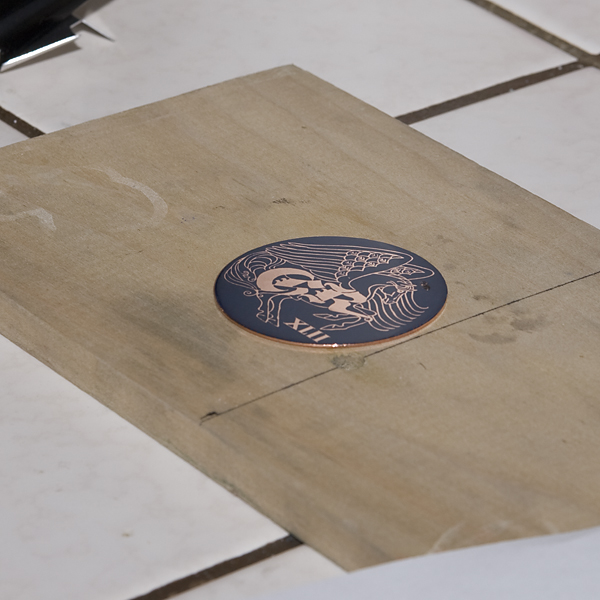
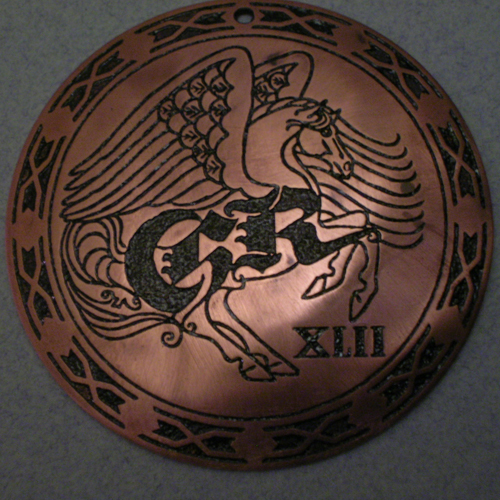
Here is one of the pieces after about an hour and a half in the etchant. The etching is about .010" deep.
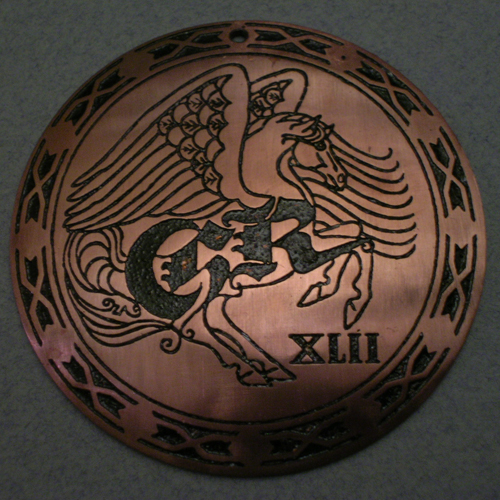
Here is the other piece after about an hour and a half in the etchant. The etching is about .010" deep.
*******
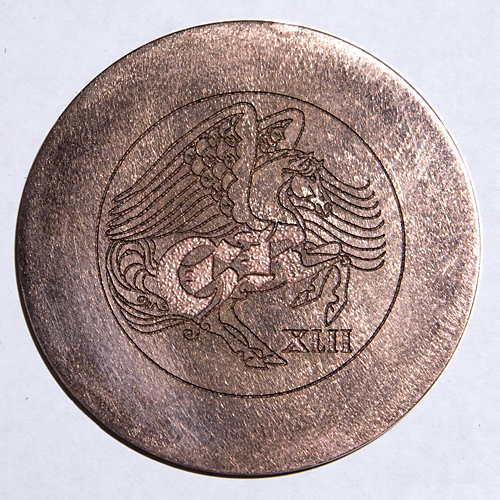
Here is the first sample after the resist has been cleaned off. Note, you can see all of the sanding marks, etc. It should be polished to remove the scratches and marks.
Here is the other sample after the resist has been cleaned off. Note, you can see all of the sanding marks, etc. It should be polished to remove the scratches and marks.

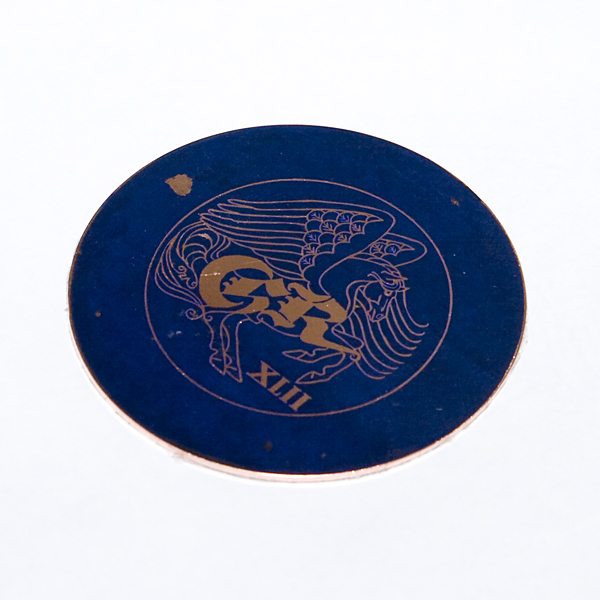
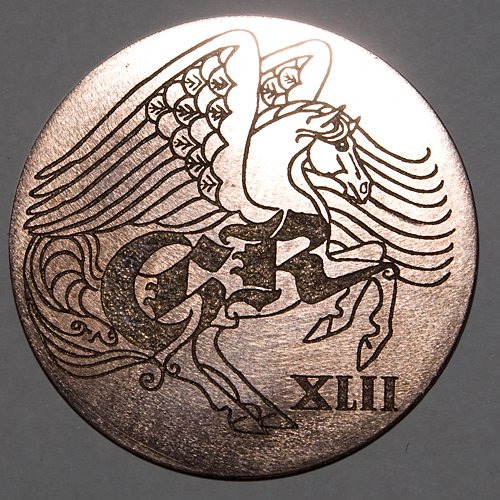
Here is sample #3. This is the design that was finally chosen for the Cyphers.
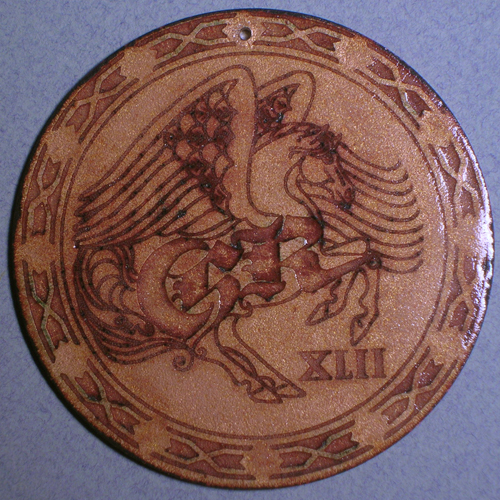
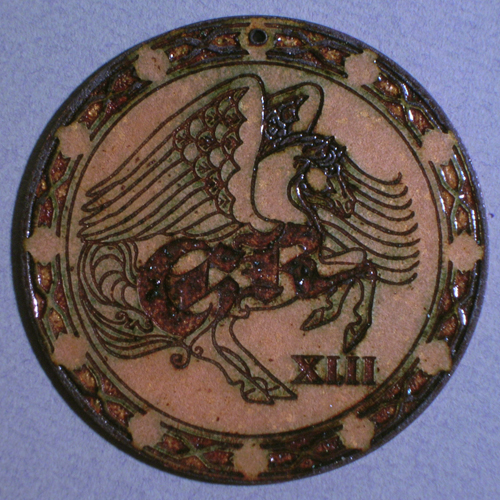
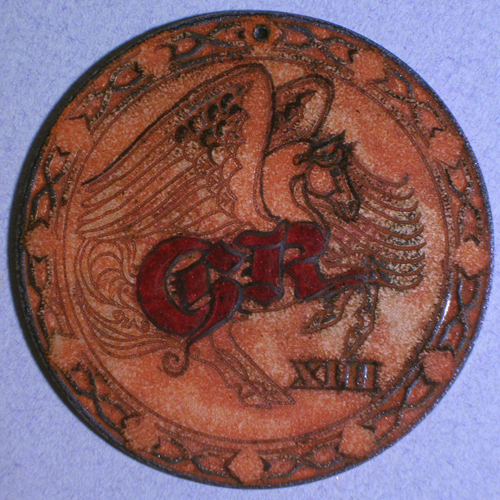
Below are some samples of the finished cyphers after Sir Mark and Mistress Dianne and their crew did the glass work on them. The pictures are compliments of Sir Mark.
These two are vernis brun (burned varnish as per primary source Theopillus.)
These three are various basse taille enameling techniques.